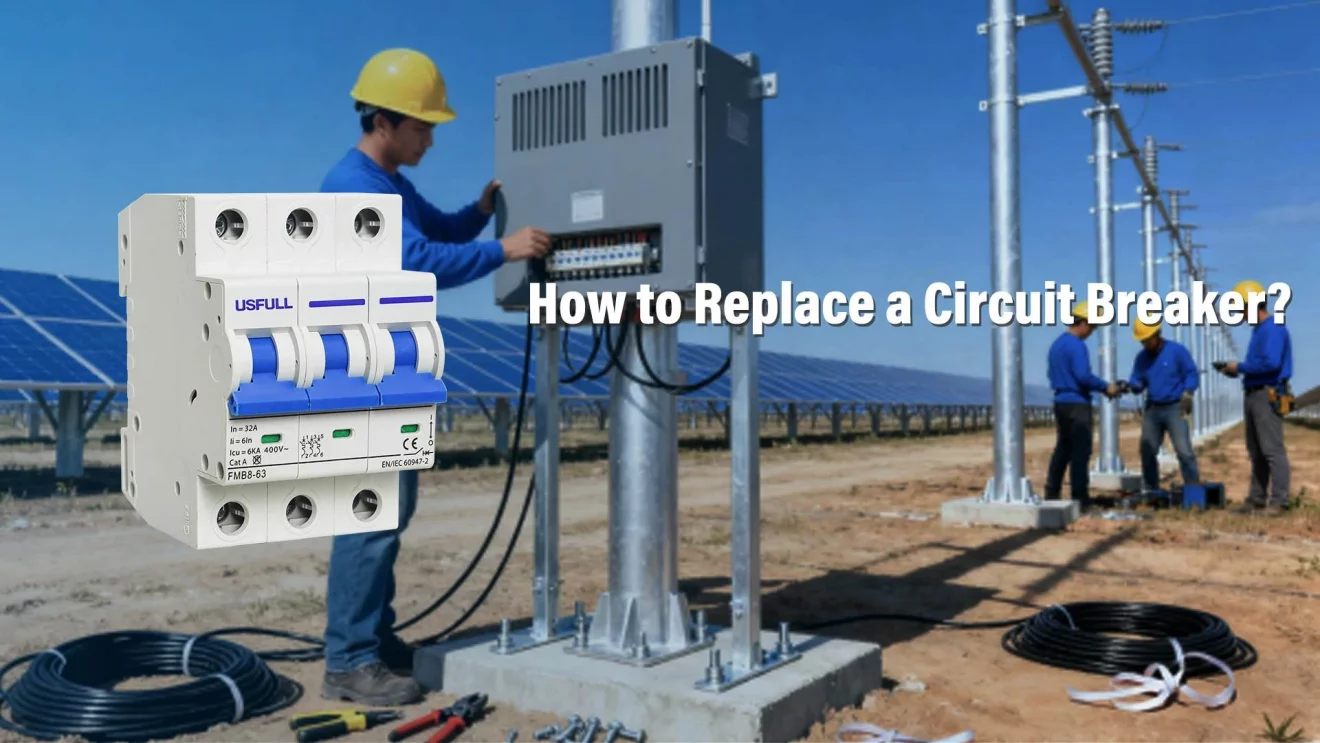
A faulty circuit breaker risks fire and equipment damage. Failure to act quickly can destroy appliances and threaten safety. The solution? Replace it promptly with reliable components.
To replace a circuit breaker, turn off the main power, remove the panel cover, disconnect the faulty breaker, attach wires to the new breaker, secure it in the panel, and restore power safely.
Replacing a breaker isn’t just repair—it’s protection. Let’s explore the steps and expert tips to ensure a safe, efficient replacement.
What Is a Circuit Breaker and Why Is It Important?
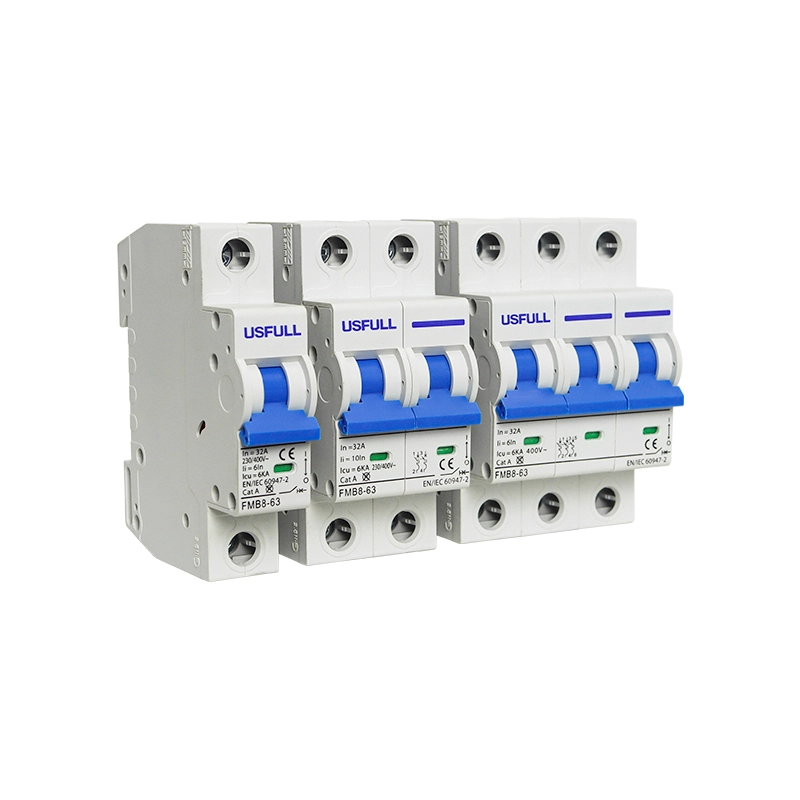
A circuit breaker is an electrical safety device designed to interrupt the flow of current when it exceeds safe levels. It protects your wiring, appliances, and property from overheating or electrical fires. When the breaker detects an overload or short circuit, it “trips” to cut power.
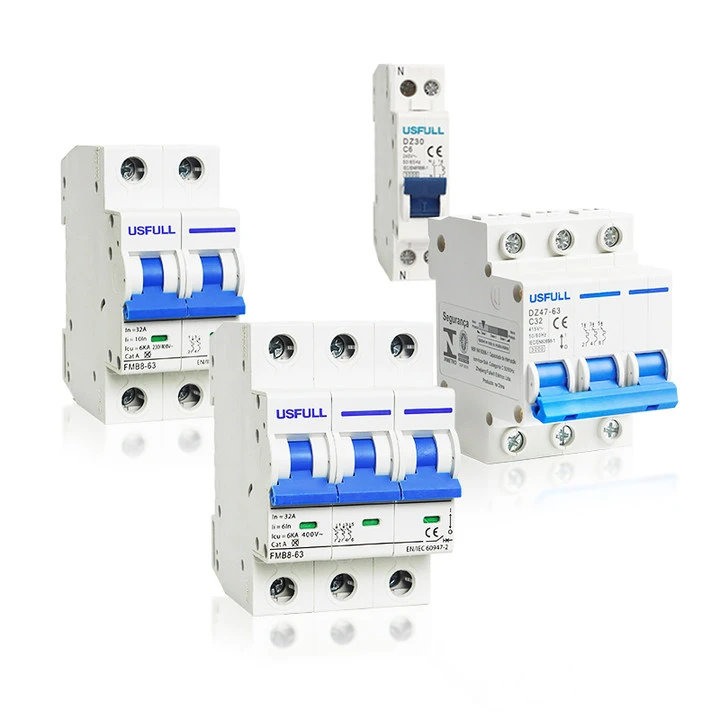
Reliable circuit breakers are critical in both residential and industrial setups, especially in solar applications where Solar DC Circuit Breakers protect photovoltaic systems from damage. Choosing a high-quality unit from a trusted Circuit Breaker manufacturer in China like USFULL ensures consistent safety and compliance with IEC and CE standards.
How to Tell If a Circuit Breaker Needs Replacement?
While circuit breakers are built to last decades, they do fail over time. Signs you may need a replacement include:
Breaker tripping repeatedly even with minimal load
A buzzing or crackling sound from the panel
Breaker hot to the touch
A burning smell or visible scorch marks
Rust or corrosion on the breaker terminals
Lights flickering on the same circuit
If you notice any of these issues, test the breaker using a multimeter. If it fails continuity or resistance tests, it’s time for a new one from a reliable Circuit Breaker supplier.
What Tools and Materials Are Needed for Replacement?
Before starting the replacement, gather the right tools and parts:
New breaker (matching brand, type, and amperage rating)
Insulated screwdriver
Voltage tester or multimeter
Safety glasses and gloves
Flashlight for dark work areas
Always match the replacement breaker to the existing panel type. For solar setups, consider a Solar DC Circuit Breaker that’s tested for photovoltaic use. Purchasing from a Circuit Breaker manufacturer ensures authenticity and performance.
How to Safely Turn Off Power Before Replacing a Breaker?
Electrical safety is non-negotiable. To shut down power:
Switch off all branch circuit breakers in the panel.
Turn the main breaker to the OFF position.
Confirm the power is off using a voltage tester—never assume it’s safe.
Remember, the incoming service lugs remain live even with the main breaker off. Avoid touching them at all costs. Professional electricians and industrial buyers often source protective gear and breakers from trusted Circuit Breaker manufacturers in China for maximum safety assurance.
Step-by-Step Guide to Replacing a Circuit Breaker
Replacing a circuit breaker is a precise process that demands careful preparation and attention to safety. Follow these steps for a secure and professional installation.
Step 1 — Shut Down the Electrical Supply
Switch OFF all individual branch circuit breakers in the panel to reduce sudden load when restoring power.
Turn OFF the main breaker to cut power to the panel’s bus bars.
Verify power is off using a voltage tester or multimeter.
⚠ Note: Even with the main breaker off, the incoming service lugs remain live—avoid any contact.
Step 2 — Remove the Panel Cover
Use an insulated screwdriver to remove the screws securing the panel cover.
Keep one or two screws loosely in place until the end to prevent the cover from falling unexpectedly.
Once removed, place the cover safely away from the work area.
Step 3 — Identify and Prepare the Faulty Breaker
Locate the breaker to be replaced by matching the label or checking with a tester.
If dealing with a Solar DC Circuit Breaker in a PV combiner box, confirm the DC polarity before disconnection.
Turn the faulty breaker’s toggle to the OFF position before removal.
Step 4 — Disconnect the Load Wires
Loosen the breaker’s terminal screw with an insulated screwdriver.
Remove the load wire(s):
Single-pole breaker: one hot (black) wire
Double-pole breaker: two hot wires (usually black and red)
AFCI/GFCI breaker: hot wire, neutral wire, and a coiled pigtail leading to the neutral bus bar
If the wires are tightly bent along the panel side, gently straighten them without touching other live parts.
Step 5 — Remove the Old Breaker
Grip the inside edge of the breaker near the center of the panel.
Pivot it outward and away from the bus bar.
Once free from the bus bar connection, lift the breaker out of the rear holding clip.
Step 6 — Inspect and Test the New Breaker
Ensure you are using the correct brand, model, and amperage rating.
If it’s a Solar DC Circuit Breaker, check that it is IEC and CE certified for photovoltaic use.
Before installation, test the breaker using a multimeter to ensure it functions correctly.
Step 7 — Install the New Breaker
Hook the back end of the breaker into the rear mounting clip inside the panel.
Push the breaker firmly into position until it clicks onto the bus bar.
Reconnect the load wire(s) to the correct terminal, tightening the screw securely but not over-torquing.
For AFCI/GFCI types, connect the neutral wire and pigtail to the designated neutral bus bar slot.
Step 8 — Arrange Wires Neatly
Tuck wires neatly along the sides of the panel to avoid interference with the cover.
Use insulated wire ties if necessary for organization.
Step 9 — Reassemble and Restore Power
Replace the panel cover and tighten all screws.
Turn the main breaker ON, then switch on branch breakers one at a time.
Test outlets, lights, or equipment powered by the new breaker to confirm proper operation.
Step 10 — Final Safety Check
Observe the breaker under normal load for a few minutes to ensure it remains stable.
If it trips again immediately, further investigation of the wiring or connected devices is needed.
For industrial and solar applications, consult a trusted Circuit Breaker manufacturer in China like USFULL for product advice and system optimization.
When Should You Call a Professional?
Even skilled technicians sometimes face complex wiring issues. Call a licensed electrician if:
The panel design is unfamiliar or outdated
Breaker replacement doesn’t solve the tripping issue
There are signs of melted insulation or damaged bus bars
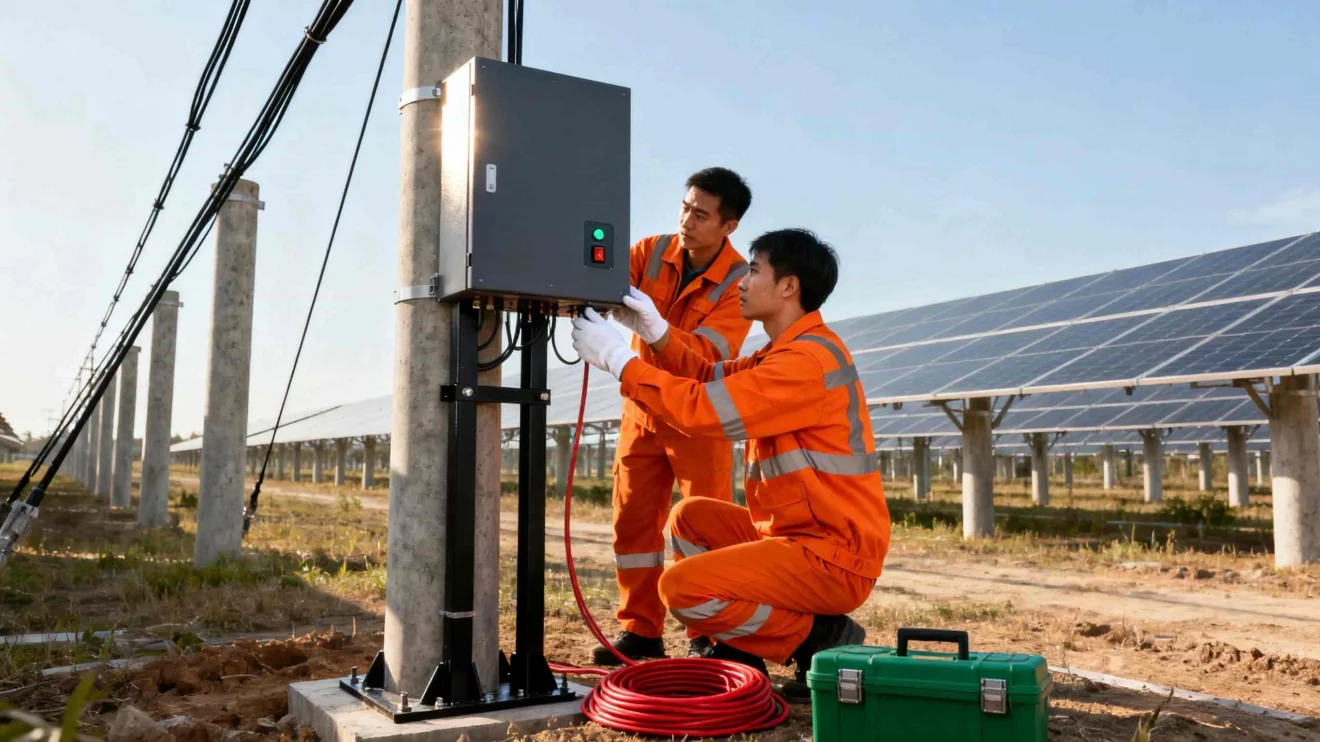
The system is part of a high-voltage solar PV array
For industrial projects, working with a Circuit Breaker manufacturer in China like USFULL ensures not only professional-grade equipment but also technical guidance for safe installation.
Why Choose a High-Quality Circuit Breaker?
The quality of a breaker directly impacts system safety and lifespan. Substandard breakers may fail to trip in time, causing overheating and fire risk. Certified breakers from a trusted Circuit Breaker manufacturer:
Meet IEC, CE, and TUV standards
Are tested for mechanical and electrical endurance
Offer reliable protection for both AC and DC circuits
In solar energy systems, Solar DC Circuit Breakers from a reputable Circuit Breaker supplier are engineered for the unique demands of photovoltaic currents, ensuring stable operation under high temperature and voltage fluctuations.